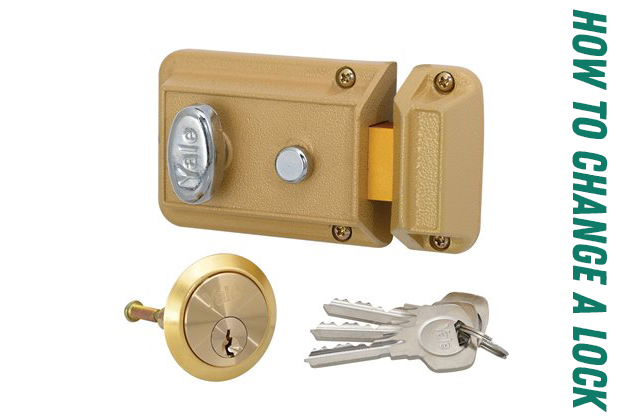
How to change a lock
It’s nice to change things around, especially when it comes to your safety! It may be necessary to change the locks on your doors. It’s a simple process that just takes a few minutes, but it’ll give you a lot of peace of mind. How to change keyed doorknobs and deadbolts is covered in this article. The associated article listed below contains information about mortise-type lock cylinders.
Small disclaimer if you are uncertain about your skills, please rather call our locksmith instead of damaging your house door and overpaying the job. In London and the surrounding areas, Locksmith London 24 provides emergency lock replacement services 24 hours a day, 7 days a week. Within 20 minutes, one of our fully qualified London locksmiths may be at any location to replace your locks. There are no call-out fees for our lock change service. Any form of lock can be changed by us.
First Part – Lock Removal
1 – Determine the lock brand you have.
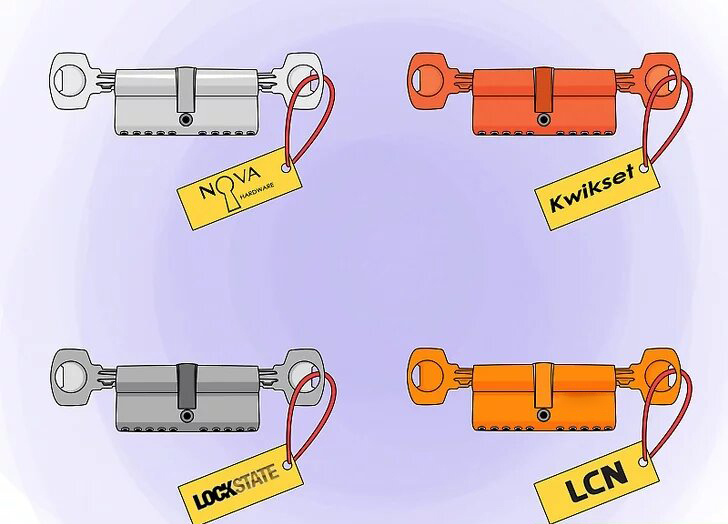
This is generally printed on the latch, but it can also be found on the key – useful if the plate has been painted over or is an old doorknob set leftover. Although you won’t need an exact replacement for your old lock, understanding the brand, style, setback, and features of the old lock will help ensure that your new lock looks, fits, and functions as intended.
- Replacing your lock with one of the same brand and basic style can help to ensure that no changes to the door are necessary.
2 – Take a measurement of the diameter of your doorknob.
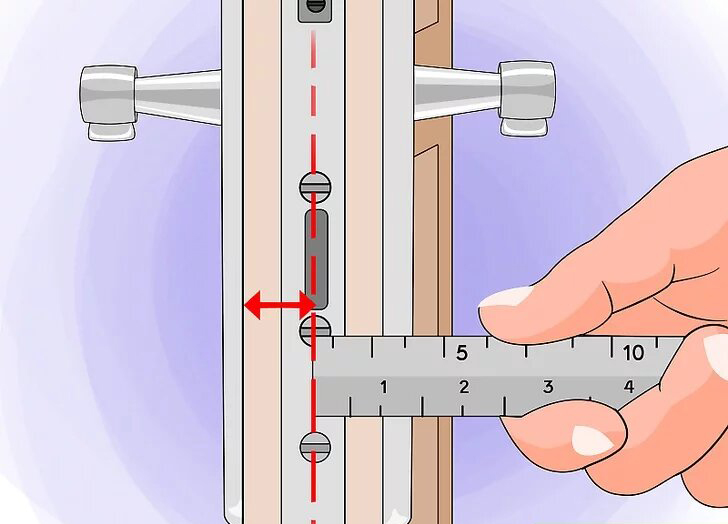
Interior locksets are usually larger than front and back door locksets. Knowing which size you require ahead of time will save you time and aggravation later.
- Measure from the door’s latch edge to the centre of the doorknob or deadbolt lockset with a tape measure. Most modern locksets have a diameter of 2-3/8 inch (6cm) or 2-3/4 inch (6.5cm).
- Many new locksets have adjustable bolts or latches for both, but double-check before leaving your hardware store to avoid having to go back.
- Older locksets come in a variety of sizes, although they are often smaller and necessitate more significant carpentry (and greater woodworking skills). If that’s the case, look for a “new” lockset in antique renovation stores.
3 – If at all possible, remove the interior knob.
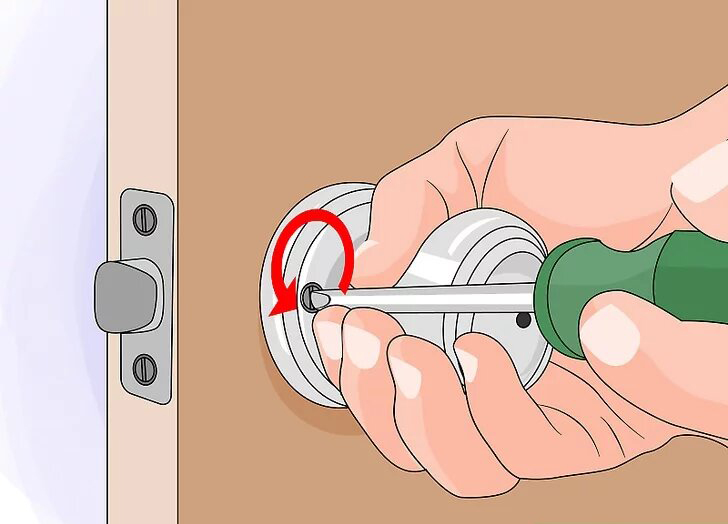
Release the knob’s springs that are keeping it in place. The doorknob should easily come off, leaving you with nothing except a decorative cover. Remove the inner cover before removing the knob if the springs on the knob can’t be accessed before removing the ornamental cover.
4 – Remove the decorative interior cover.
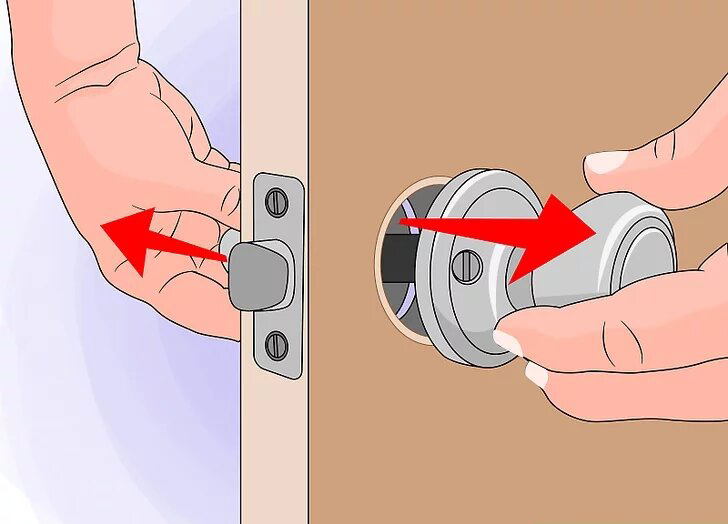
Once you remove the knob, the screws for the cover may or may not be exposed. If that’s the case, simply take them out and lay them away. If they aren’t visible, examine along the edge for a hole where an allen bolt may be hidden. If there are no holes or concealed screws, the plate can simply be snapped into place — carefully peel off the lid with a small flathead screwdriver to reveal the locking mechanism.
5 – Unscrew the two inside screws to disassemble the lock portions.
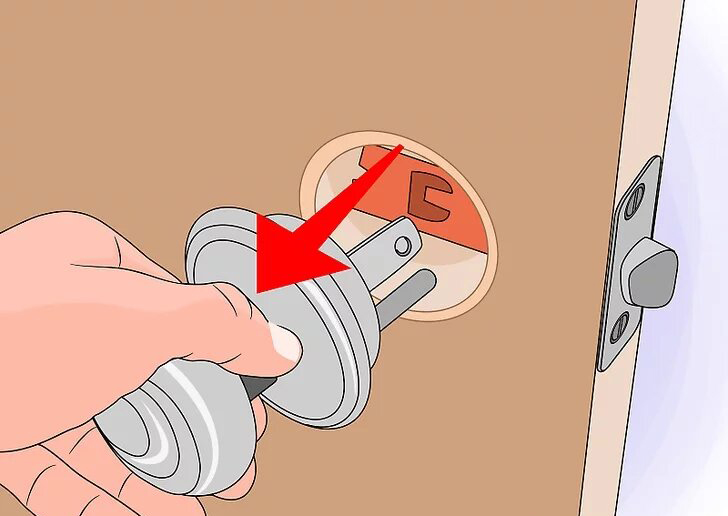
Remove the screws that join the inside and external halves of the lock. On the inside half of the knob, you’ll find these. Simply pull each part of the knob straight away from the door once both screws have been removed.
- If you let the door close, you’ll have to either re-insert the portion of the knob with the “blade” on it or unlatch it using a screwdriver or butter knife.
6 – The latch assembly should be removed (doorknob).
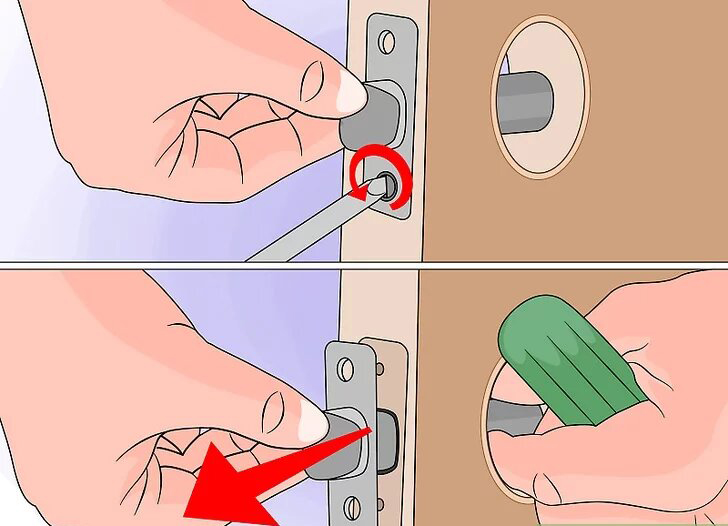
Remove the two screws on the side of the door from the latch assembly. Remove the door jamb’s strike plate as well.
- You may be able to keep your existing latch plate and strike plate if your new lock is the same brand and model as your old one. Compare the new plates to the old ones; if they’re identical, it’s best to keep the old ones in place if at all possible. Removing and replacing screws weakens the screw’s grip on the door.
- If the new screws won’t bite, try shoving a small splinter of wood (or two) into the screw hole and snapping them off level with the door’s edge (toothpicks work well for this).
- Another option is to buy longer screws, but make sure the screw heads are the same as the ones provided by the manufacturer, or the screws will not seat properly and cause difficulties.
Second Part – Door Lock Installation
1- Place the latch in place.
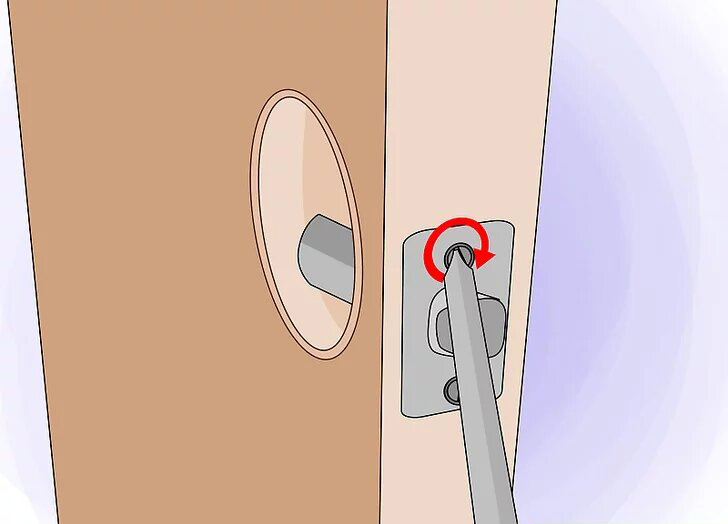
Remove any uneven recesses in the latch with a chisel to ensure that your new latch fits precisely. In the recess, place the new latch. Don’t worry about adding the screws until the remainder of the lockset is in place if the new latch fits snuggly into its recess.
- Fit the screws into the latch and tighten them down if the new latch is having difficulties staying in its recess.
2 – Make sure the keyed piece of your new lockset is on the outside when you install it.
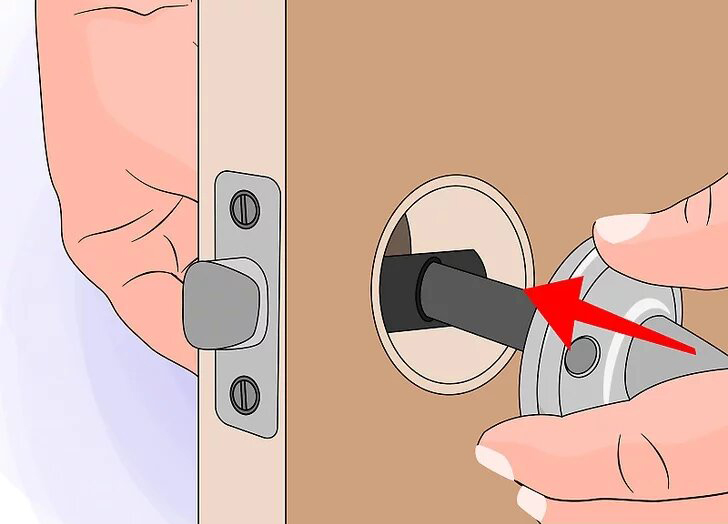
Through the latch assembly, slide the outside components of the lockset into the hole. Insert the inside set, sliding it onto the blade of the outside half of the lockset while holding them roughly parallel to the floor. Place the mounting screws in place and tighten them.
- Check to see if the strike plate matches the new lock. If it doesn’t, the striking plate should be replaced.
3 – The key should be used to test the latch and locking mechanism.
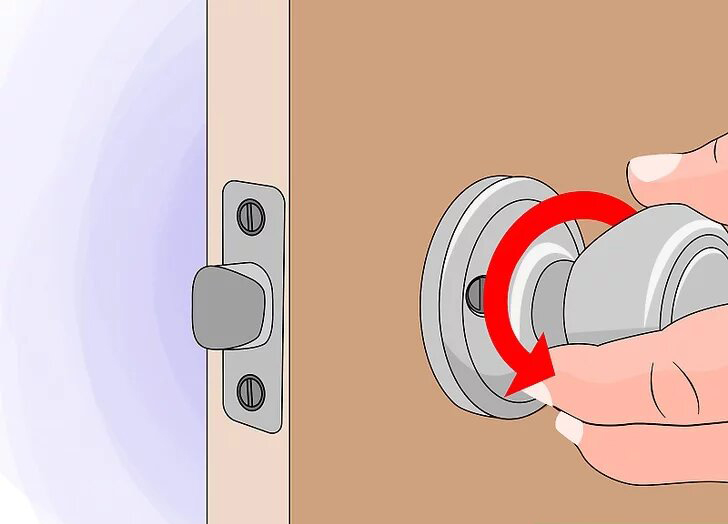
With the door open, give it a try. You don’t want to be locked out if something goes wrong!
4 – Check for accessibility and tighten any remaining screws.
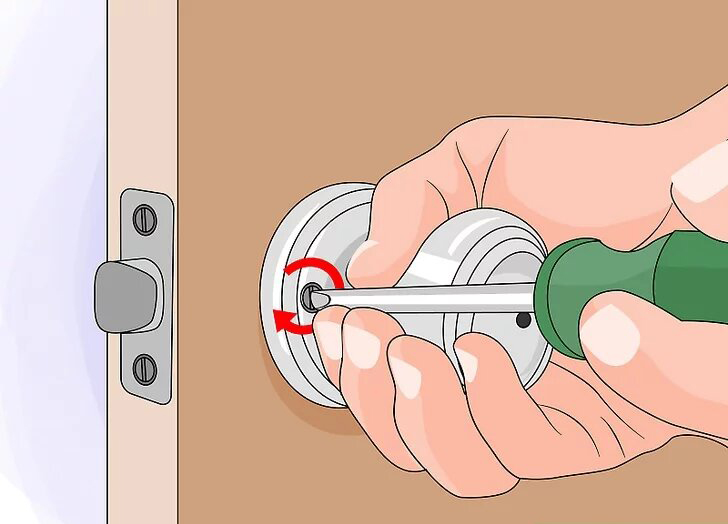
Your new doorknob should be springy and easy to open and close.
Third Part – Deadbolt Removal
1 – Remove the two external screws from the deadbolt lock to disassemble it.
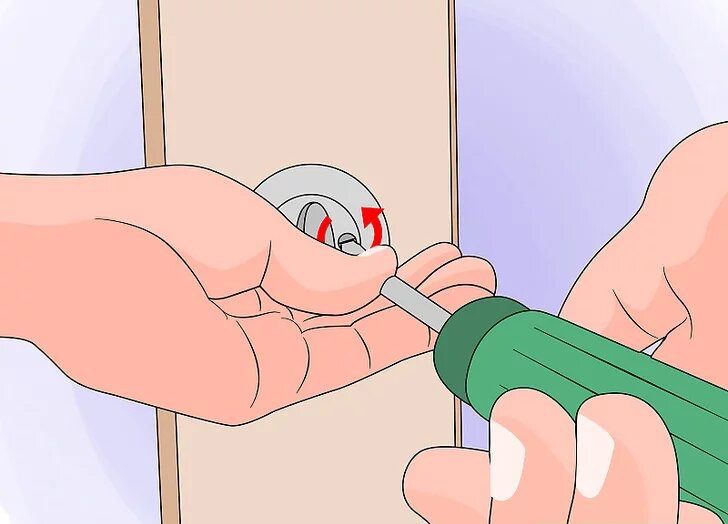
This will allow you to gain access to the deadbolt lock’s innards.
2 – Remove the inner screws from the deadbolt with an Allen wrench.
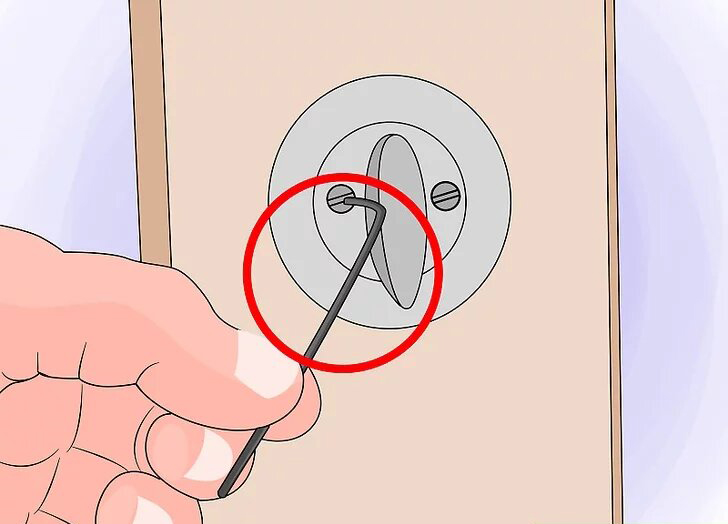
You should be able to loosen the lock mechanism from the inside with a couple of rapid rotations with your Allen wrench (or hex key — they’re the same thing). Both the internal and exterior cylinders must be removed.
- If your deadbolt lock has decorative caps over the screws, knock them off centre with a punch and hammer, then grip them with pliers. Then unscrew the mountings with the Allen wrench.
3 – If you can’t remove the screws with an Allen wrench, you might be able to remove the deadbolt by drilling into it.
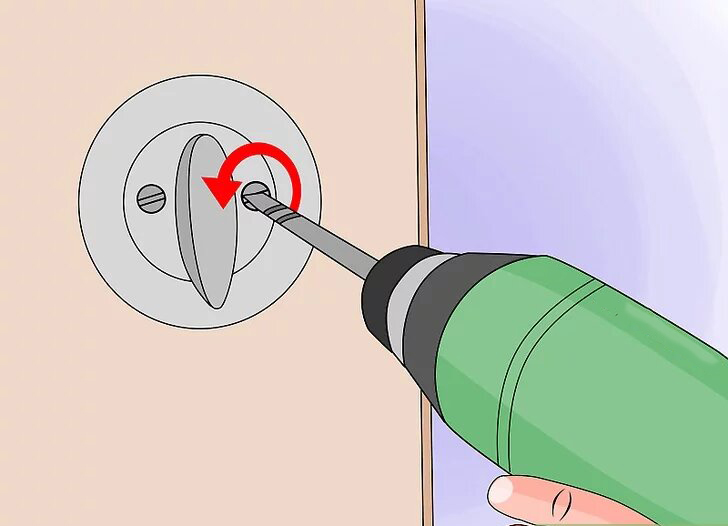
This is not the finest method, and it necessitates the use of a powerful drill bit, but it will assist in the removal of a lock.
- Drill through the cylinder in the centre of the deadbolt lock, where the tumblers are located, from the outside. Remove the tumblers from the equation.
- Drill on both sides of the deadbolt, midway between the top and bottom, as an alternative. Drill through the outside covering on both sides until it comes out.
- Turn the knob lock with a screwdriver inserted inside the latch.
4 – To remove the deadbolt, undo the Phillips head screws on the side of the door.
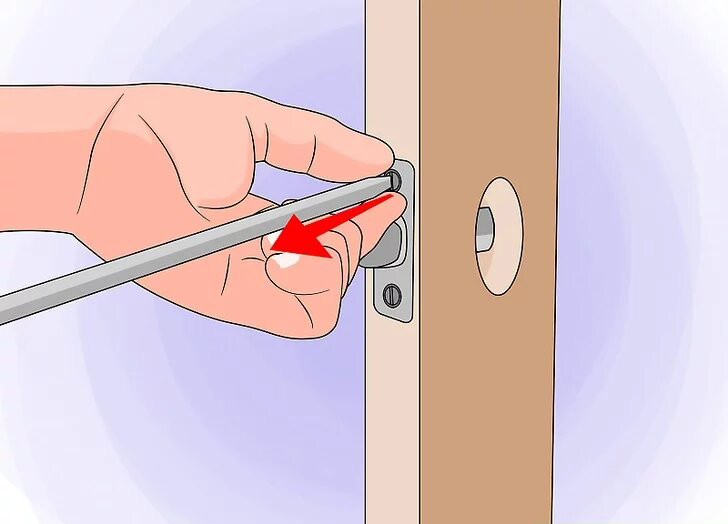
Remove the old deadbolt and clear up the deadbolt recess of any debris or dust.
Fourth Step – Deadbolt Installation
1 – Orient and install the new deadbolt lock on the door’s side.
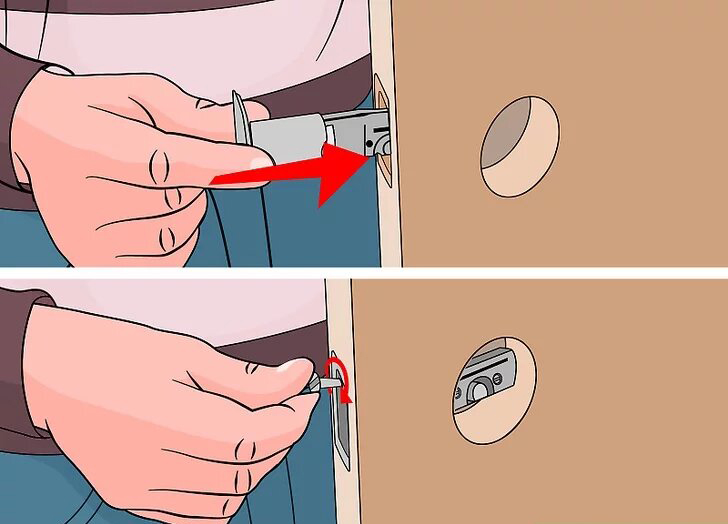
Make sure the deadbolt’s top is pointing up. After aligning it up, install the deadbolt and secure it to the door with two Phillips screws on the side. Make sure you don’t overtighten.
- Use a screwdriver to verify the deadbolt’s operation after it’s been put on the side of the door.
2 – In the deadbolt controller, line up the tongues of both the interior and exterior cylinders.
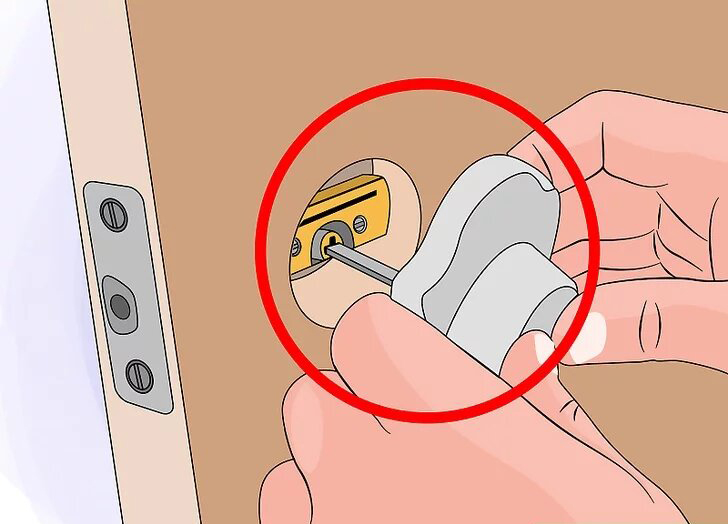
Both cylinders have flat tongues on one side and curled tongues on the other. Place both tongues in the cylinder so that the flat sides are in contact. Install one cylinder first, then the other, for simplicity of installation; installing both at the same time can be problematic.
3 – On the inside of the door, screw in the screws.
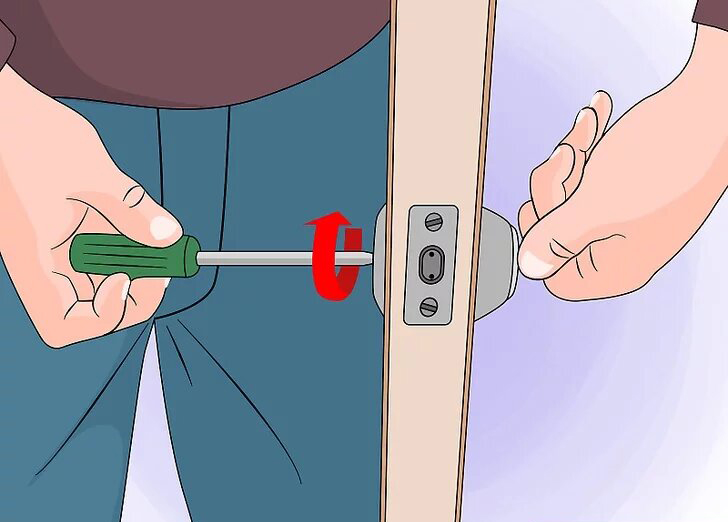
Fasten both screws firmly, but not so firmly that the deadbolt is off-center.
4 – Verify that the deadbolt does what it says it does.
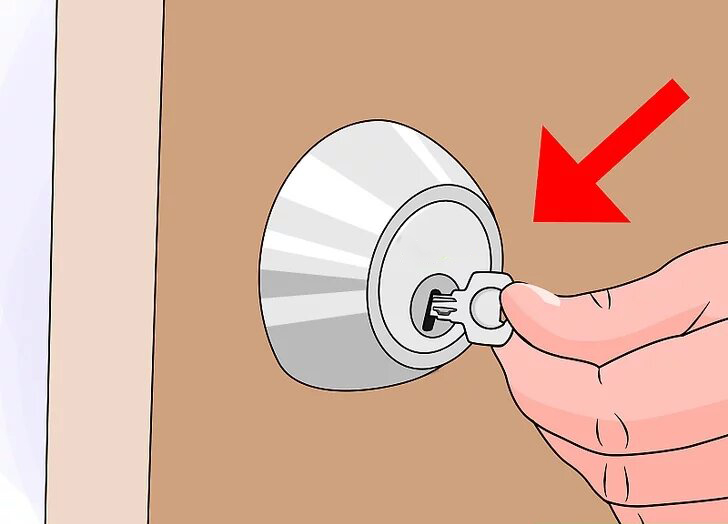
Turn the deadbolt with your key in place. Look for a smooth turn. Make sure the deadbolt is in the correct position.
Hints to change a lock
- If you use graphite lubricant in your locks, you might not need to replace them as often. Use the graphite lubricant both inside the lock and where the key is inserted. Drawing with a pencil on your key is an easy technique to apply graphite.
- Starter kits for re-keying locks typically cost £9 to £25 and include a simple tool for opening the locks as well as a few spare cylinders to enable you to change keys.
- A passage lock (no locking function), a privacy lock (a push-button lock that only operates from the inside and unlocks itself when the inside knob is turned), and a keyed entry knob are also available.
- You can replace the thumb latch on the inside of your deadbolt with keyed latches on both sides. Although the thumb latch may appear to be more practical, if your door has a large window, you may prefer double keys.
- Re-keying a lock is a skill that may be learned. Re-keying locks helps you avoid wasting a lot of good locks that can still be repaired. Re-keying locks allows you to use a single key to open all of your outside doors. Matching locksets are available from several manufacturers, making this operation considerably easier than doing it yourself.
Be aware when changing a lock
This key should also be an original, not a copy. How many times have you had to jiggle a faulty key to get the lock to open? Imagine doing that in a room filled with smoke and fire. Even if the keys are keyed alike, keep a different key for each door that this pertains to.
If your deadbolt is keyed on the inside as well as the exterior, you’ll need to keep a spare key on hand in case of an emergency. It should be easy to locate in the case of a fire, and everyone in your household should be aware of its location. You may tape it to a fire extinguisher or a flashlight in case of an emergency. Under no circumstances should you remove this key from your home.
Please follow us on Instagram.






Leave a Reply